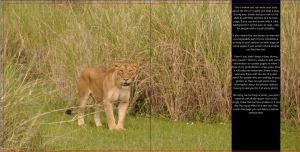
The pix2print software allows you to add text boxes pretty much anywhere in your photobook. You can add text boxes underneath photos to add a caption, add them on top of photos to make people say or think something (have a look at the think blocks and think clouds in the scrapbook items), write your diary in it, add a title to the front cover and even to the spine so you can see what is in each photobook when you place them all on the shelves next to each other (see Title on spine).
The text editor even lets you change the colour of the text in your text boxes. That means you can even add text to a dark background as you could write in white. Or you can create a colourful look to your page by adding text in bright colours.
But what if you want to use a text box with a solid background, so it stands out a bit more, it might become a bit easier to read as the photo has dark and light areas so simply changing the colour of the text to white doesn’t help. It doesn’t look like the text editor allows you to change the background colour of the text box itself – or does it?
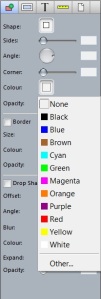
It does, but you need to know where… First, just add your text box as normal, you can even already add your text if you want. Then, to change the background colour of the text box to a solid colour, select the first tab in the Inspector (on the right hand-side) and click on ‘Colour’.
There are 3 options to set colour on the first tab of the inspector, make sure you use the top one (the second one is to change the colour of borders and the third one is for the colour of drop shadows).
Select your colour from the options available or click ‘Other’ if you want to create your own colour.
Now you can add professional looking text boxes anywhere!

